

QuickLens - A Year in the making
If you see my Archive page, you will notice a complete void for 2014, a year where I did not post at all. So what happened? Well, besides taking those much needed sleep-breaks, I was busy building QuickLens: a Mac App that provides a set of tools to explore User Interfaces.
The app was mostly built on the Nights and Weekends plan.
![]()
A Brief History
QuickLens started its life around April 2013. It was an app born out of pure need, with features built around my own workflow. You see, back in early 2013, I was creating video courses and training videos on Web Development. I wanted an app that could help me highlight areas of the screen and possibly dim rest of the screen. That would be useful to highlight snippets of code in real-time.
Being on the Mac, I found one: OmniDazzle. The description seemed to fit my exact need. Sadly, it was not supported for Mavericks and above. I tried my best to make it work but it was futile. After struggling with it for few days, I decided to take the next step: Build it myself.
And thus, QuickLens was born. The name “QuickLens”, itself was a cue at moving a lens around the screen…quickly! I thought I will have this tool ready in few days, so I could use it in my presentations. That estimate of course went overboard by 365 days. Yes, it took me a complete year to build it and release it on the Mac App Store.
Year-long
“What? an year just to create a little app to highlight an area!” Well, what started as a simple exercise, ended up in a fairly sophisticated app with a suite of 7 tools. And it does lot more than just highlighting an area. QuickLens became a tool-set for
- Magnifying areas
- Sampling / Exporting colors
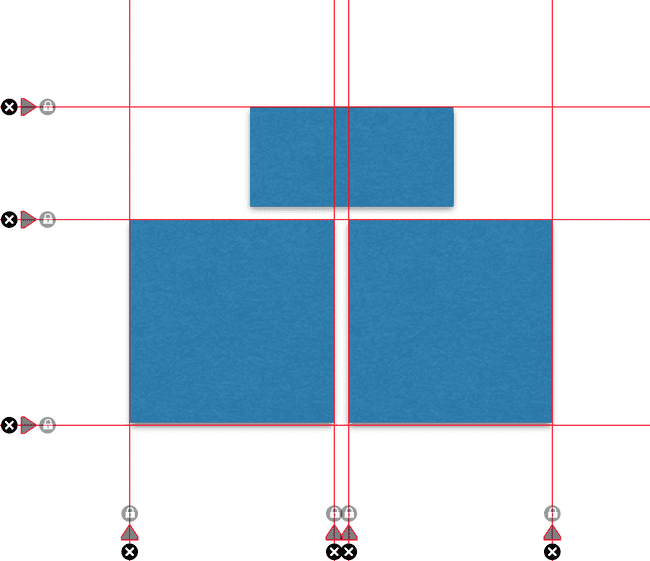
- Inspecting alignments and layouts
- Measuring dimensions
- Overlaying Grids
- Taking snapshots
- Simulating vision defects and so much more
Sometimes the path you take opens up a world of detours!
It was Monocle
If you have seen QuickLens, you know it has 7 tools:
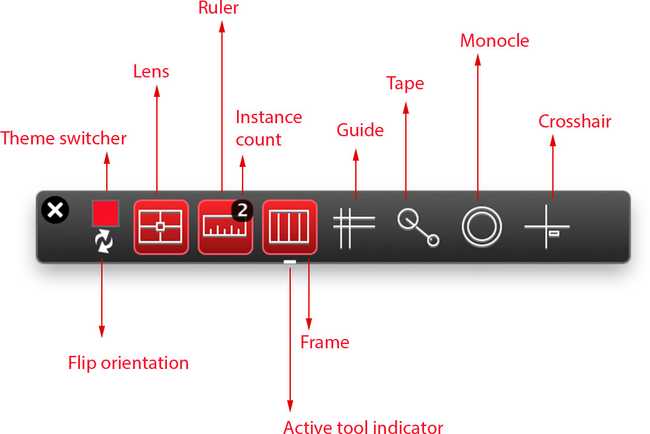
- Lens
- Ruler
- Frame
- Guide
- Tape
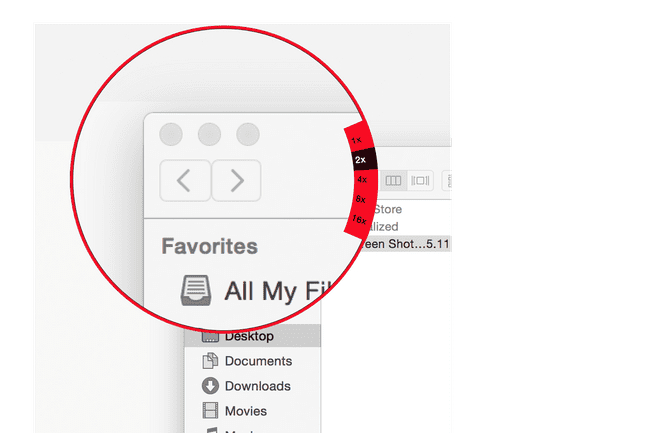
- Monocle
- Crosshair
The tool I originally started building was Monocle.
Tools to test Tools
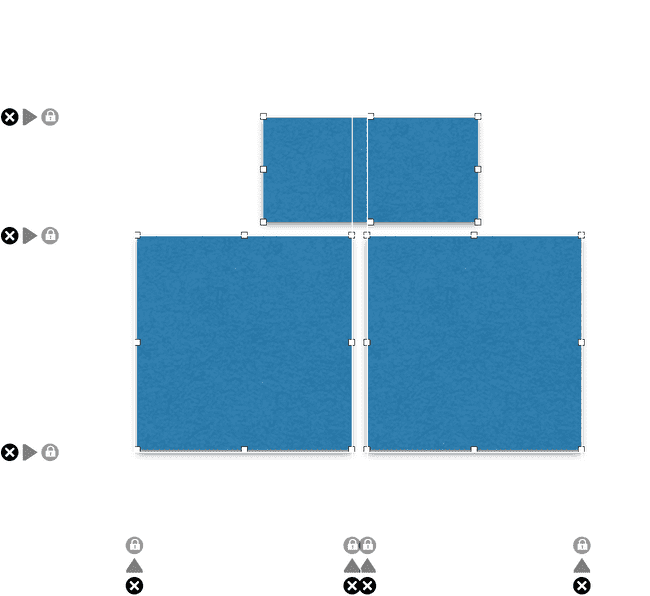
Although Monocle looks simple, it required a monumental effort to test and ensure every pixel is rendered correctly with precise positioning and alignments. That need forced me to build a bunch of ancillary tools that helped in testing it.
- Lens was extremely useful to ensure the lines were always pixel-aligned
- Ruler made sure I wasn’t drawing extra pixels outside of the boundaries
- Guide was needed to check alignment of controls within a tool
- Tape was great to check the angle of zoom-labels inside the monocle
- Crosshair helped in getting the mouse and pixel position on the screen
- The above tools were also used in combination for some extreme testing
QuickLens in its current state includes all those tools and features. I personally found them super useful while building the Monocle. I think these tools are generally useful and applicable in lots of different areas. If you are a UI Designer/Developer, you owe it to yourself to try QuickLens!
Dynamic Theming
There are several features of QuickLens that stand out compared to other apps that do similar things. Today, I want to just focus on one feature that I haven’t seen other apps do: dynamic theming.
Since QuickLens works on top of all your apps, it is always visible and easy to access. Sometimes, the design/UI you are working with provides very little contrast against the color of the tool. This makes it hard to work effectively against the backdrop of a similarly colored design. Take a look at the screenshot below and you’ll see what I mean. You can barely separate the Guide tool from the underlying design. The White theme for the tools is not helping here!
To address this, we have dynamic theming that allows you to switch the colors of the app on the fly. Using the shortcut Command+E you can flip through various colors and then pick the one which gives you the most contrast. Use the tool-palette to see all of the choices quickly.
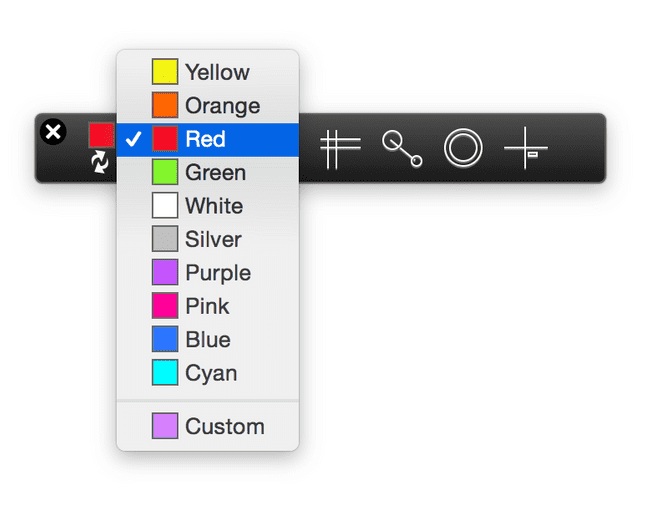
If you are not happy with the choices, you can also pick a custom color! Surely you will find a color in the 16-million choices provided by the color-wheel :-)
With proper contrast, you can see the tools more clearly.
Switch tool colors on the fly to get the best contrast on your designs. ⌘E works too. pic.twitter.com/LOgOKlaHRL
— QuickLens App (@QuickLensApp) June 26, 2014Last mile to App Store
When I first started in April 2013, I did not expect a ramp up of a year to get to a release state. A significant amount of time was spent in polishing and the overall fit and finish. Its crazy how the 80-20 rule plays out in reality. The last 20% is always the part where you sweat the most!
I was ready by early April 2014, a year after I started. The next month was spent in designing the product website, twitter, App Icon and finalizing some legal stuff. After some late nights and burnt weekends, I was ready to submit the app for review.
Here is my experience with the App Store approval process:
May 22, 2014App submitted for reviewMay 25, 2014Rejected: wrong folder used for storing the snapshotsMay 26, 2014Fixed and resubmitted for reviewJune 04, 2014App ApprovedJune 15, 2014App released to public
The next several months was spent in promotions, advertising on Twitter, talking at local User Groups and improving the website. I was also prepping the next version (v1.5), which incorporated a ton of feedback I got from Designers and Developers.
Free Trial
It is quite natural for people to try out someting new before buying. It took me a year to realize that! Yes, some lessons are learnt the hard, long way. So without further ado:
You can now download a 7-Day Free Full-featured Trial
I hope you will give it a shot. You never know, it might just fill the need you have in your design/development workflow!