

Setting up XDebug on NetBeans 6.5 PHP IDE
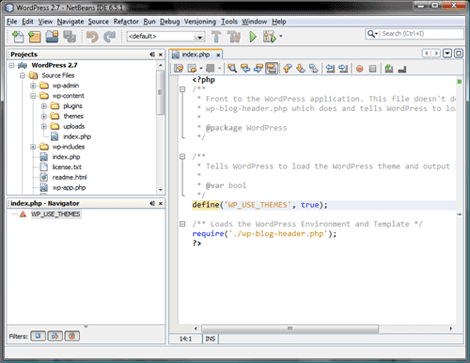
Recently I was doing a bit of PHP development for my blog and playing around with the WordPress APIs. After spending some time deciding on the IDE to use, I hit upon NetBeans 6.5, which I think is an awesome tool for PHP development. It has fantastic auto-completion, syntax-highlighting, code-folding and refactoring support unlike no other PHP IDE. It also has nice debugger support (XDebug) but setting it up can be a pain!
I had lot of trouble making it work with issues like: XDebug not being recognized, Apache webserver crashes, etc. However I finally got it working and below are the steps I took on my Windows Vista machine:
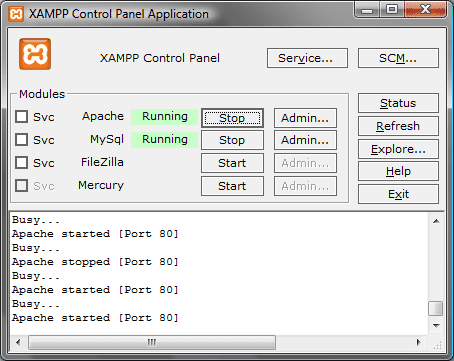
- If you doing WordPress development, most probably you are using XAMPPLite to run a local webserver. If not, you should definitely get it. The rest of the steps assume that you have XAMPPLite on your machine.
- To set up XDebug, first get hold of the latest DLL from the XDebug website. The site recommends version 2.0.x for a PHP version of 5.2.x. At the time of writing this post, I used php_xdebug-2.0.4-5.2.8.dll
- Edit your php.ini file in <xampplite-install-folder>/apache/bin/. Note that you should edit the php.inifile in apache/binand NOTin <xampplite-install-folder>/php/. This is the biggest mistake most people make, including me.
- Add these lines at the end of the .ini file:
[xdebug]
zend_extension_ts="<xampplie-install-folder\>/php/ext/php_xdebug-<version-number\>.dll"
xdebug.remote_enable=1
xdebug.remote_host=localhost
xdebug.remote_port=9000
xdebug.remote_handler=dbgp-
Next increase the memory limit of your PHP script to 128M, by modifying the memory_limit variable in php.ini. It is usually around line 246 in that file.
memory_limit = 128M ; Maximum amount of memory a script may consume (16MB)
-
Save the .ini file and restart the Apache server. I typically do this via the XAMPPLite control panel.
- Now if you go to http://localhost/xampp/ and click on the phpinfo() link on the left-hand sidebar, you should see a spew of xdebug information. Here is how mine looks:
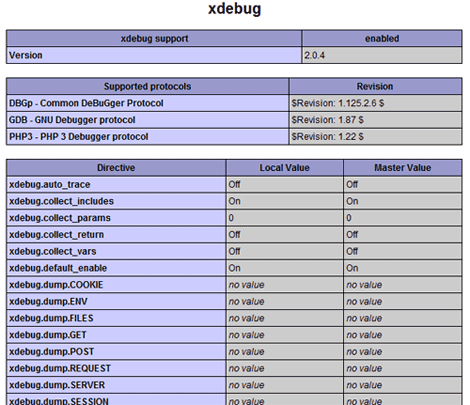
- If you see the above in your output, you are all set and XDebug should start working within NetBeans. You can now happily set breakpoints in your script and debug all your PHP worries :-)
I hope in the future this process becomes a lot simpler, but until then this post will definitely remain useful!