

Warp Effect using pure Pixel Shaders
I am totally blown away by the possibilities of Pixel Shaders and already finding a great variety of uses for it. To get started on Pixel Shaders I would recommend stopping by Greg Schecter’s blog and reading his series of articles on this subject. It was definitely a starting point for me.
As an experiment, I decided to do the Genie Effect as a Pixel Shader. The original implementation involved the use of a 3D mesh to get the distortion effect. There was also quite a bit of setup code involved to initialize a Viewport3D, put a GeometryModel3D in it and also initialize the MeshGeometry3D. With Pixel Shaders it becomes a lot easier and boils down to just applying an Effect !
  <Image Source="img.jpg"
         Grid.Row="1"
         Stretch="Fill">
       <Image.Effect>
         <WpfApplication1:WarpEffect
              L1="{Binding Value, ElementName=_lp1}"
              L2="{Binding Value, ElementName=_lp2}"
              L3="{Binding Value, ElementName=_lp3}"
              L4="{Binding Value, ElementName=_lp4}"
              R1="{Binding Value, ElementName=_rp1}"
              R2="{Binding Value, ElementName=_rp2}"
              R3="{Binding Value, ElementName=_rp3}"
              R4="{Binding Value, ElementName=_rp4}" />
       </Image.Effect>
  </Image>
The parameters L1, L2, L3, L4, R1, R2, R3 and R4 control the two sides of the Warp mesh. In short they represent the control points of a Bezier curve for the left and right side. Each of these parameters is of type double and is bound to a HLSL constant register (c0 – c7).
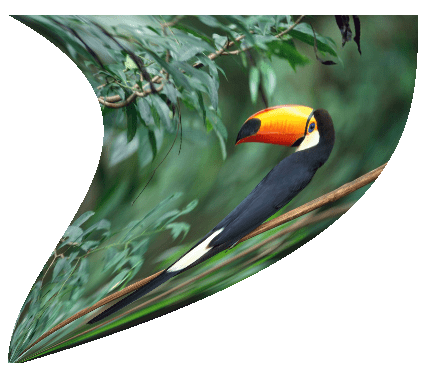
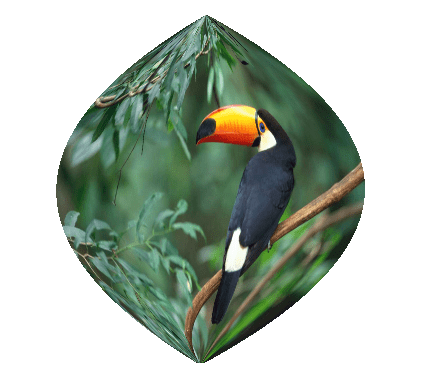
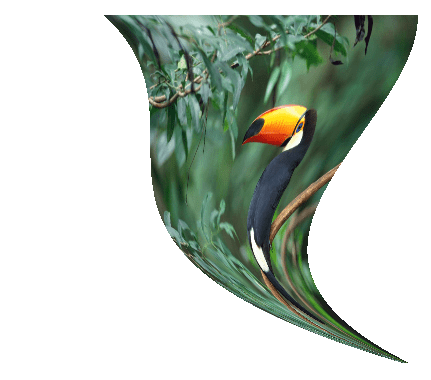
By tweaking these parameters I can get some nifty looking Genie curves:

Here is a short video of the demo app in action: